How To Bulk Import Slides Content For A Carousel?
You can easily create carousels by bulk importing your content into PostNitro. We support two methods for bulk import:
- Import from Text: Paste your content directly in a structured text format.
- Import from CSV: Upload a CSV file with your content.
This guide will walk you through both methods.
Choosing Your Import Method
-
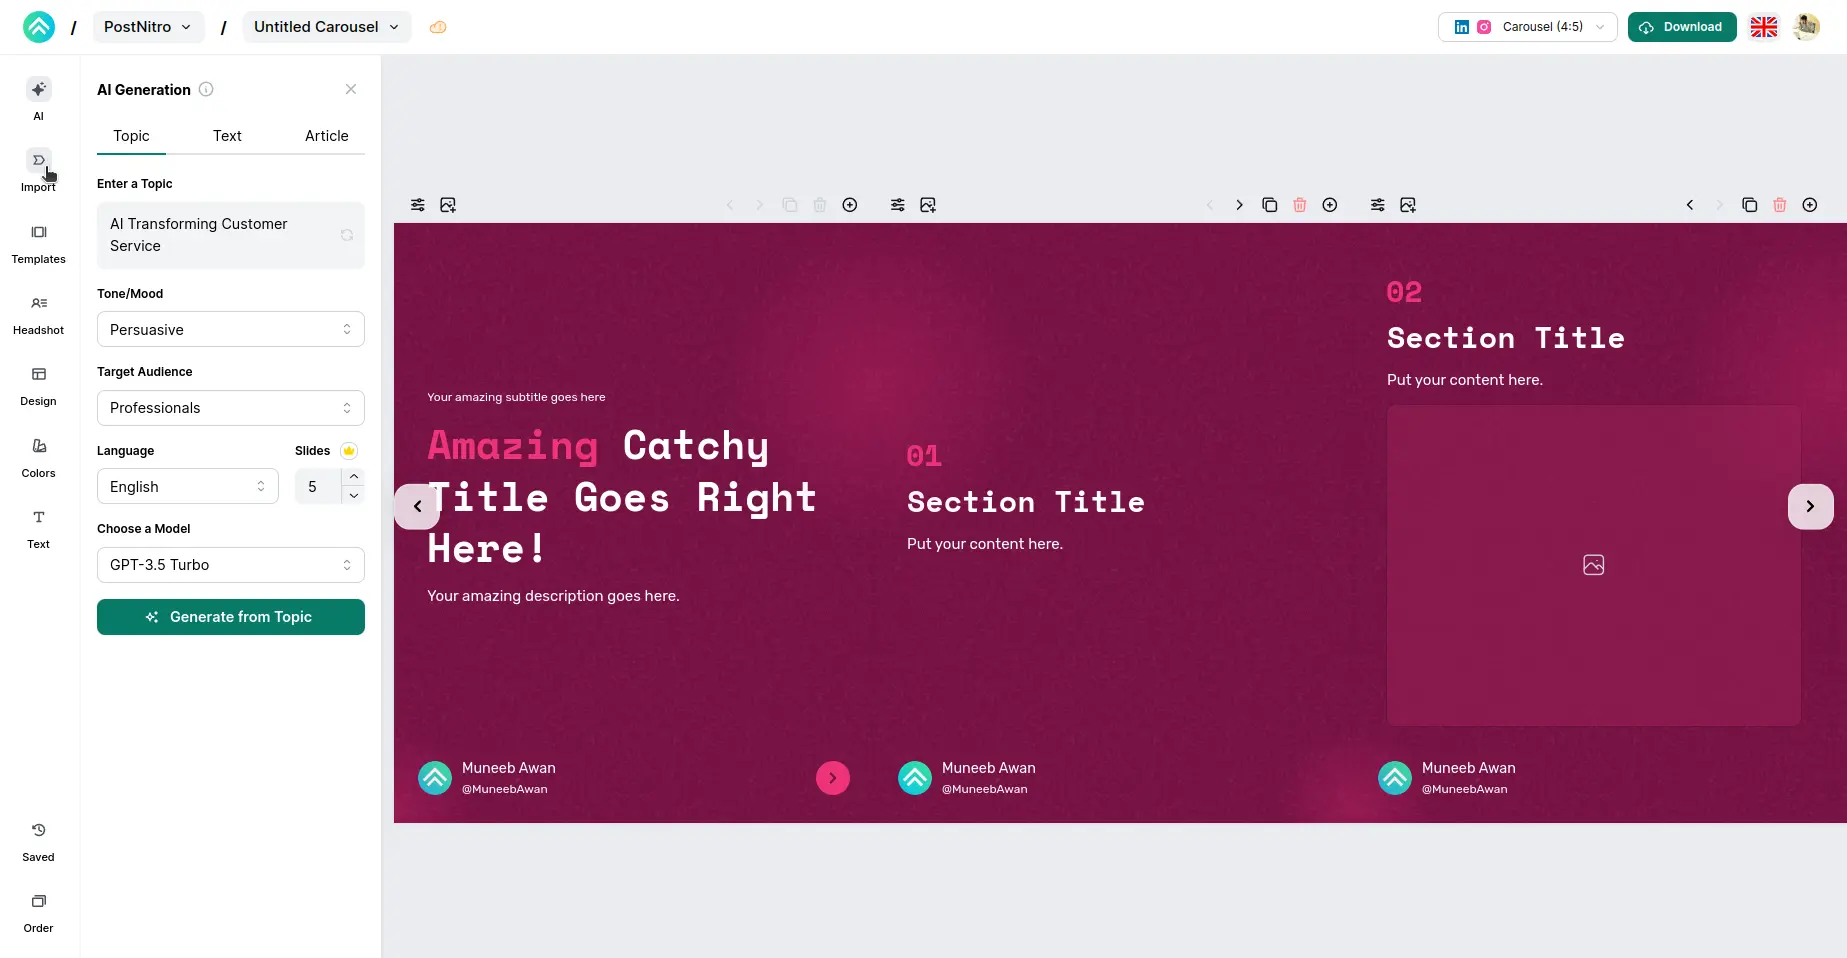
Click on the Import tab in the left side menu.
-
After clicking “Import”, you will see two sub-tabs at the top of the import section: Text and CSV. Click on the tab for the method you wish to use. The Text tab is selected by default and marked with a “New” badge.

Option 1: Import From Text
This method allows you to paste your carousel content directly using a specific text format.
Text Format Explained
To structure your content for text import, follow these guidelines:
Slide Blocks
Each slide’s content must be defined in its own block. A block starts with a slide type identifier in square brackets on its own line, e.g., [starting_slide].
- Starting (Intro) Slide: Use
[starting_slide] - Body Slides: Use
[body_slide_N], whereNis the slide number (e.g.,[body_slide_1],[body_slide_2]). You can have up to 18 body slides (i.e.,[body_slide_1]to[body_slide_18]). - Ending (Outro) Slide: Use
[ending_slide]
Content Fields
Within each slide block, define the content for different elements using field_name: value pairs. Each field definition (field_name: value) must be on a new line.
The supported field names are:
sub_heading: Used for the sub-heading on the Starting and Ending slides.heading: Used for the main heading on any slide.description: Used for the descriptive text on any slide.image: Provide a valid, publicly accessible URL for the image to be used on a slide.cta_button: Used for the swipe indicator text on the Starting slide and the Call To Action (CTA) button text on the Ending slide.
Important Notes:
- The order of
field_name: valuepairs within a slide block does not matter. - If you don’t want to include a specific element (e.g., no description on a slide), you can omit the line for that field or leave the value blank after the colon (e.g.,
description:). - For the
imagefield, ensure you provide a valid, publicly accessible URL. Only the first line of text afterimage:will be considered as the URL. - Multi-line content for
sub_heading,heading,description, andcta_buttonis supported. Simply continue typing on new lines after the initialfield_name: valueline. These newlines will be converted to line breaks in the carousel.
Example Text Input
The text area in the app will have a placeholder showing this format. Here’s an example:
[starting_slide]
sub_heading: My Awesome Subtitle
heading: Welcome to the Carousel!
description: This is how you start with a bang.
cta_button: Swipe to learn more
background_image: https://example.com/background1.jpg

[body_slide_1]
heading: Section 1: The Core Idea
description: Explain your first key point here.
This point might have multiple lines too.
image: https://example.com/image1.jpg

[body_slide_2]
heading: Section 2: Deeper Dive
description: More details for the second point.
image: https://example.com/image2.png

...

[ending_slide]
sub_heading: Ready to Act?
heading: Get Started Today!
description: A final encouraging message.
cta_button: Visit Our Website
image: https://example.com/logo.png
background_image: https://example.com/background2.jpg
Steps for Text Import
Ensure the Text tab is selected within the Import section.
Paste Your Content: In the large text area provided, paste your content, ensuring it follows the format explained above. You can use the placeholder text as a guide.
Generate Carousel: Once your content is pasted, click the “Generate Carousel from Text” button located below the text area.

Your content will be processed, and the carousel slides will be automatically generated based on your input.
Option 2: Import From CSV
CSV Explained
Headers
The headers help us map your content on the slides.
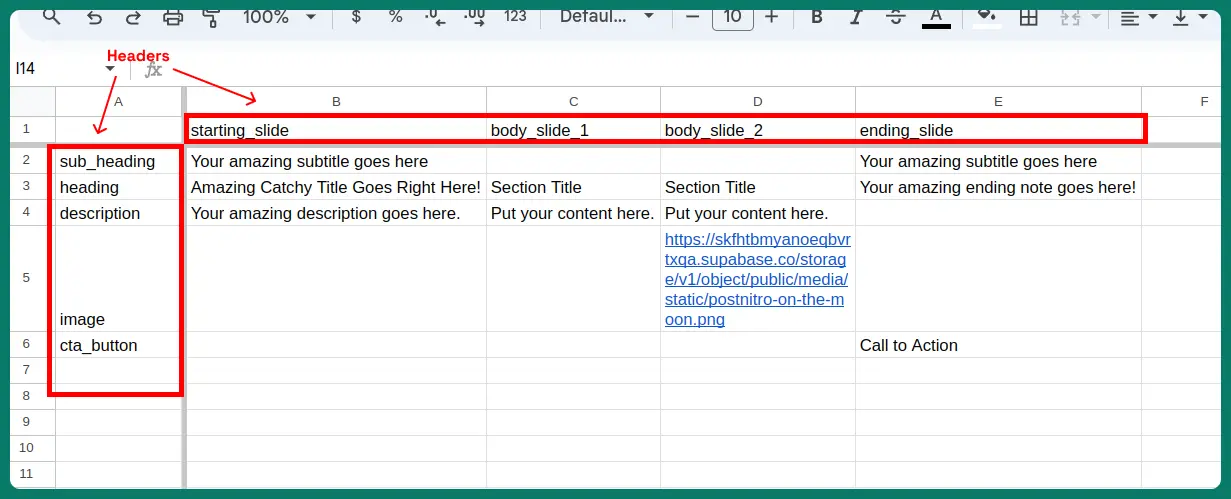
Columns
To better control the content for each slide the headers in the Column control the slides. These will also determine the number of slides the carousel is suppose to have.
For the Starting (Intro) slide the keyword to use is “starting_slide”.
Since the body slides can be multiple just add the number of slide at the end, like “body_slide_10”. The body slides can be upto 18.
For the Ending (Outro) slide the keyword to use is “ending_slide”.
Rows
The headers in the Rows are used to map the content for each text field. To make things simpler the following hierarchy must be followed:
- Sub Heading (sub_heading) - used to map the sub heading on the Starting and Ending slides
- Heading (heading) - used to map the heading for each slide
- Description (description) - used to map the description for each slide
- Image (image) - used to map the image to use in each slide
- CTA Button (cta_button) - used to map the Swipe indicator text in Starting slide and the CTA button text on the Ending slide
- Background Image (background_image) - used to map the background image to each slide
The hierarchy for these headers must be followed strictly
Content
The content to map to each slide.

We require the following to be text inputs, you can just leave the content blank in case you don’t want something added.
For image we require that you provide a valid url that we can fetch the image from.
Steps
Import Tab
Click on the Import tab in the left side menu.
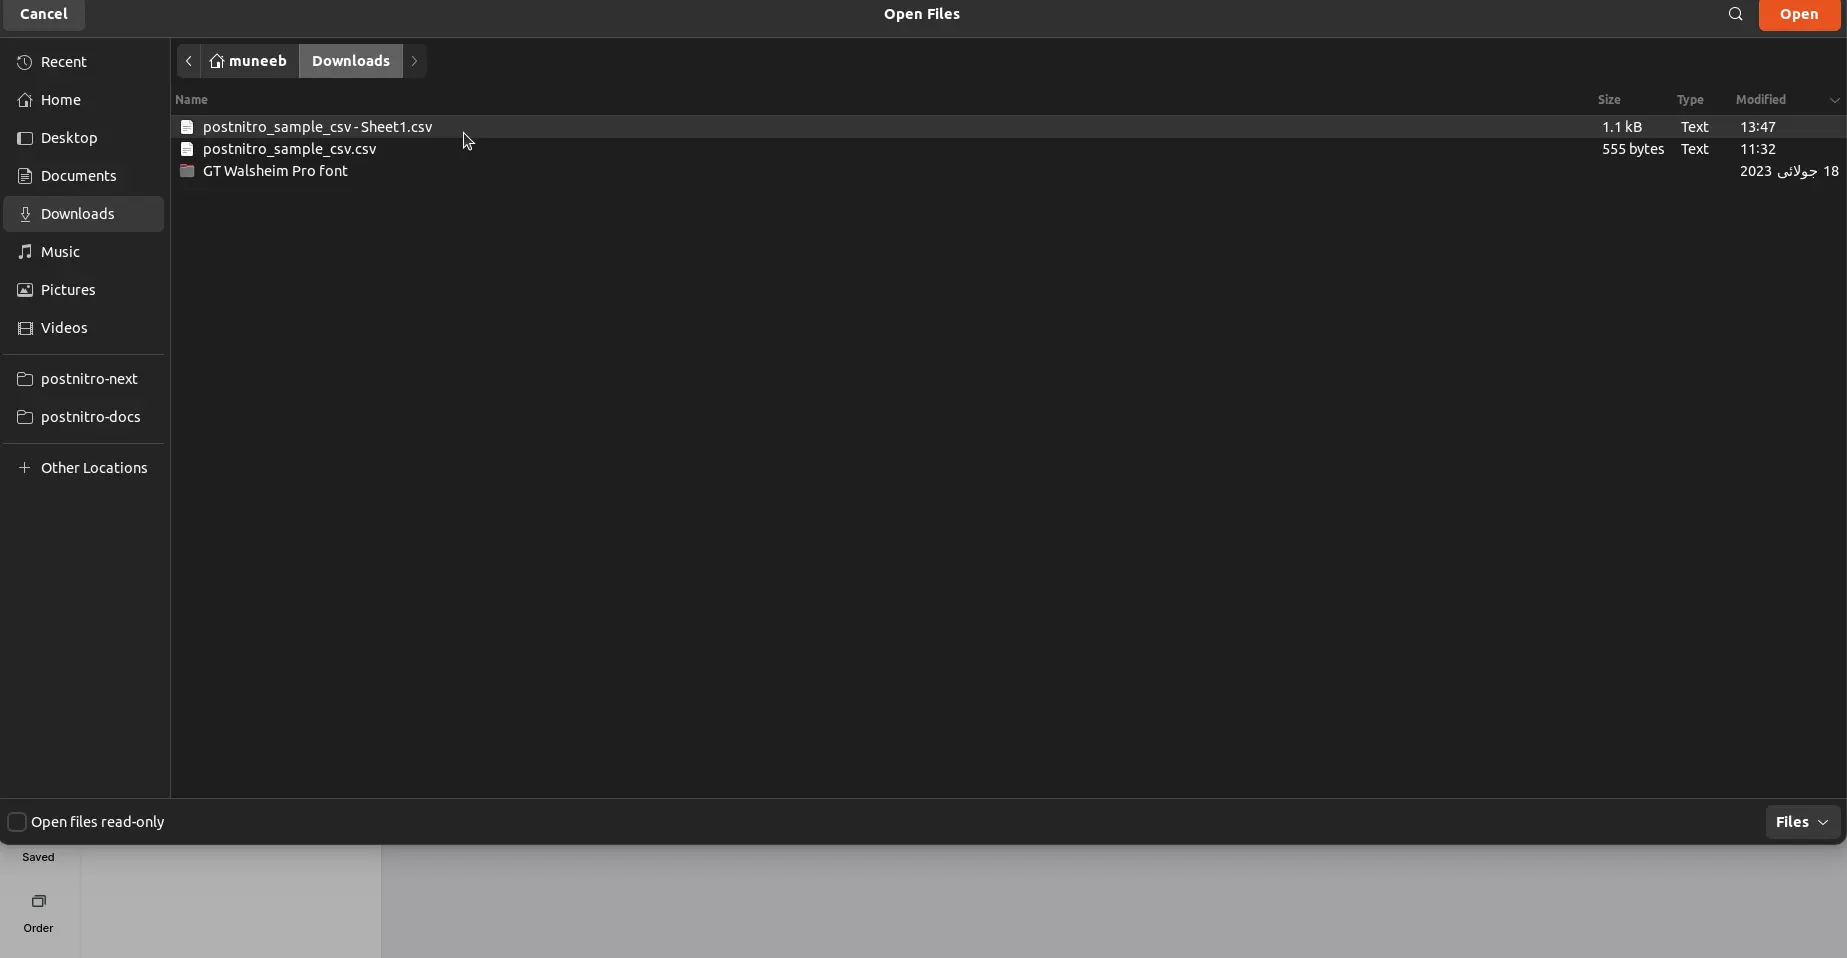
Download Sample CSV
Click on the Download Sample CSV button to download the CSV template that you can edit

Make Changes & Import CSV
After you’ve made the changes to the CSV, import it into PostNitro to make a carousel
Preview Generated Carousel
From the CSV file uploaded, the system will automatically map your content onto your carousel design

Download Generated Carousel
Just click on the download button to download your carousel as either PNG or PDF.

Pro Tips
Text Formatting
- For BOLD text, use <strong>content goes here</strong>
- For ITALIC text, use <em>content goes here</em>
- For Underline text, use <u>content goes here</u>
- For Setting Accent Color on the text, use <c>content goes here</c>
- For line breaks, use <br/>>